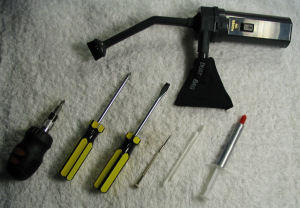
The cleaning work was once interrupted by the battery issue (I hadn't even started yet though :P)
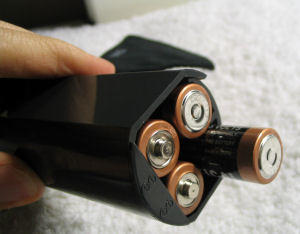
Yesterday I bought another set of batteries,and this time the batteries can be packed into the cleaner.
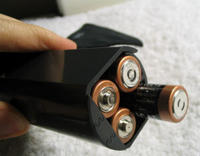
| This time they can be packed into it. |
Pray to Jusus and Budha make myself calm down, a big work is going to start~~~!!
1.Battery, HD and cables
Before every thing goes start, check the laptop's battery, HD and cables (power cable, head phone, mouse, etc) has been removed. Also make sure to touch some metal things (such as door knob) frequently during the whole process lest static charge should ruin the laptop.
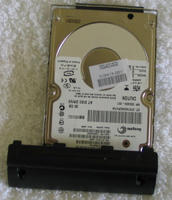
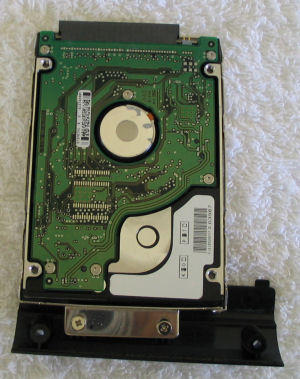
| Seagate 30G harddisk... |

| ...and its other side. |
2. Top cover
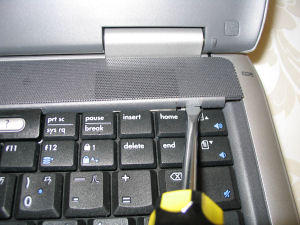
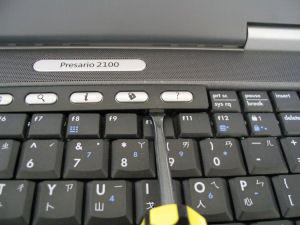
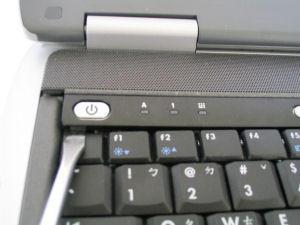
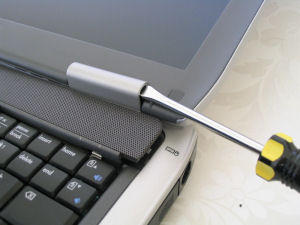
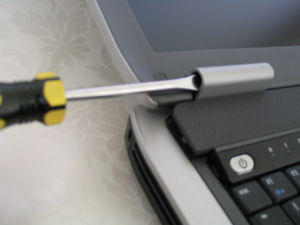
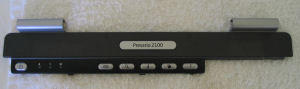
First of all, I have to remove 2 screws on the rear side of the top cover (otherwise I can't remove the cover). Then start to pry the top cover from right, middle, to left with flat-blade driver carefully.
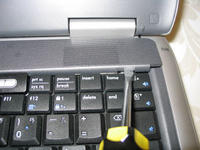
| Pry from the right... |
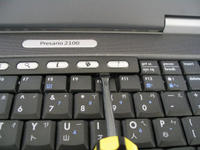
| ...to the middle... |

| ...then to the left. |
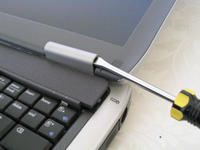
| Pry up! |
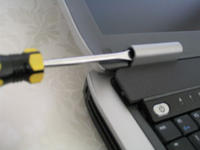
| This side as well. |
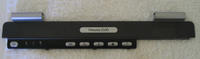
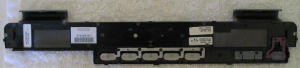
| Top cover front side. |
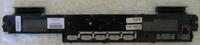
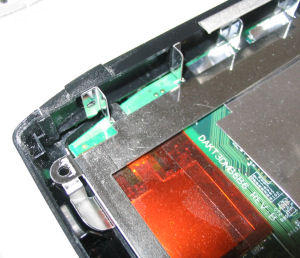
| Top cover back side. |
3. Speakers

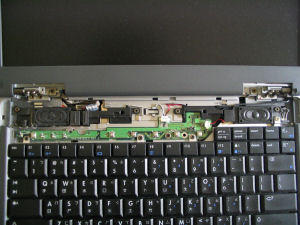
| Under the top cover |
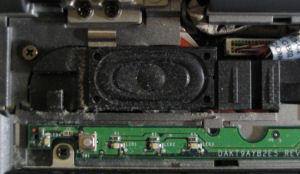
There are two small black speakers on both side. Here we can see the speakers are covered with dust.

| Dirty speaker... |
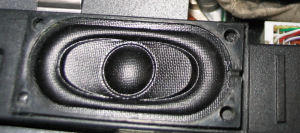
It looks much different after cleaning with vacuum cleaner.
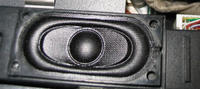
| Much better after cleaning. :) |
4. Keyboard
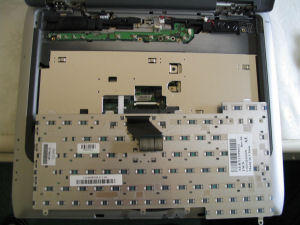
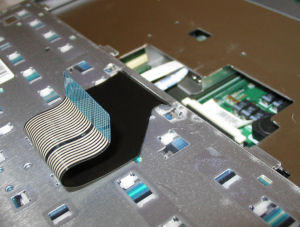
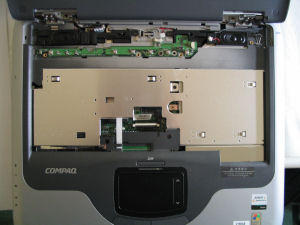
Removing the 4 screws beyond keyboard, I can flip the keyboard toward me and then find its cable. Unlike normal keyboard and cable, this one is so thin that any strain would damage it. (I personally would call it plastic sheet rather than cable). The cable is fixtated with a knotch underneath the main cover. Carefully lift up the knotch, the cable will (literally) “pop out”.
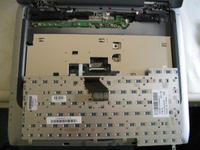
| Flip the keyboard. |
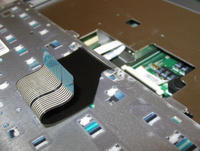
| What a thin cable... |
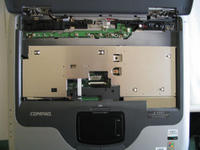
| Keyboard removed. |
5.Speakers and Switch board
Unfortunately the speakers on my laptop can't be removed as their cables seems to have been stuck onto the hooks by glue (or that sort of things). Deliberately pull them out will split them into segments and the speakers will never work again. Although leaving them will make my work a bit harder, here I just keep them intact.
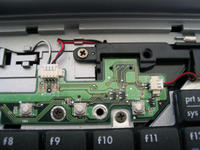
| These cables (and thus speakers) can't be removed. |
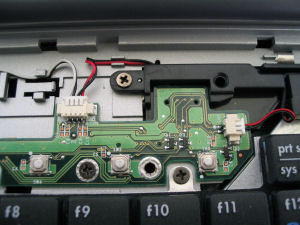
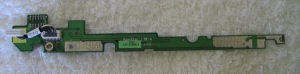
Unplug 2 cables on switch board carefully (again, they're really thin and delicate), the switch board can be lifted and its cable can be found underneath. Unplug it and the switch board can be removed.

| Switch board front side. |
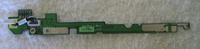
| Switch board back side. |
6.Monitor
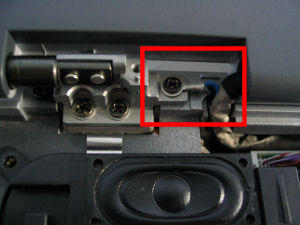
The monitor is fixed on right and left stand, each of which have 3 screws. Note that there is a land wire on one of the left screws.
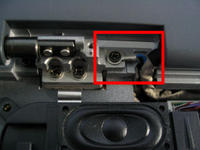
| LCD screws (left). |
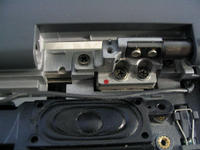
| LCD screw (right). |
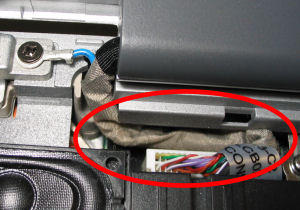
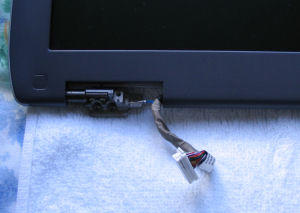
Here the monitor cable is a big problem as the cable is thicker than the ditch which the cable is in, and also the cable slot is too close to remove the cable from it. Of course it can't be pulled out forcefully, hence this is a bit tricky and need some technique to make it “slide” out of there.
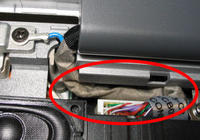
| Taking out this wire can be a bit tricky. |
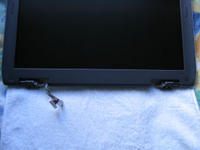
| LCD cable. |
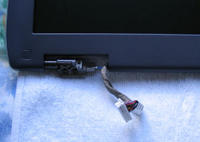 | LCD cable. |
7.DVD-ROM drive
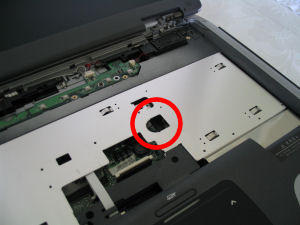
Actually at the point I remove the keyboard, I'd been able to take DVD drive out. There are 2 screws in the hole denoted with the red circle. Unscrew them, stretch finger into the hole and push toward the right, the DVD drive will pop out from the bay. Watch out that the edge of the hole is somewhat sharp and don't get injured.
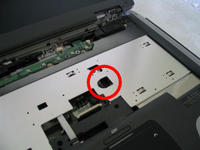
| Can you see where the DVD is? |
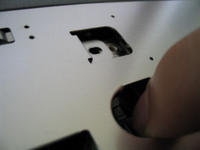
| Put finger into the hole and push DVD drive out. |
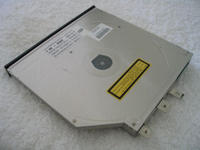
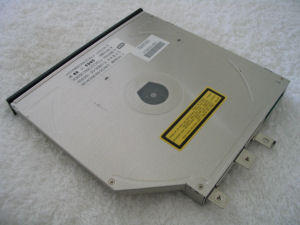
| DVD drive for laptop. Much different from those for desktops. |
8. Main cover
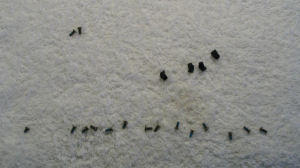
By main cover I mean the part on which I put my hand and arm. Touch pad is also on it. Here I have to remove nearly 20 screws from the main cover and also the bottom of the laptop.
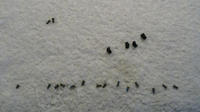
| So many screws... |
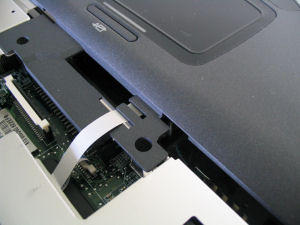
Since I've removed those screws, I can now remove the main cover, right? But wait then. Lift the cover slowly, we can notice that there's a cable connecting to underneath.
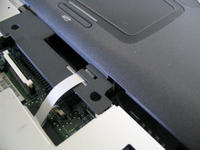
| The white cable is connected to the touchpad and the power signal lights. |
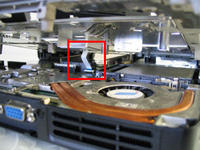
| Touchpad cable. |
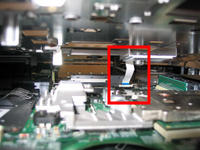
| Another viewpoint. |
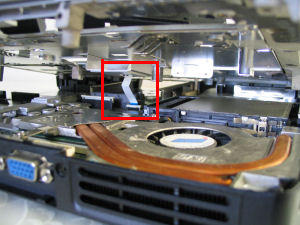
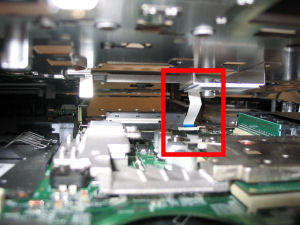
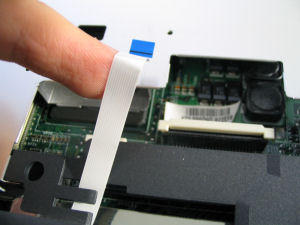
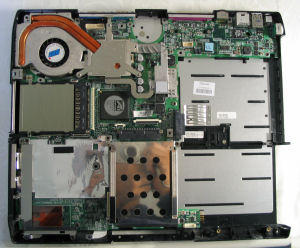
This is similar with keyboard's cable, except that this one is much narrower than the previous one. Again, lift the knotch, release the cable and finally the main cover is removed and we can see the mainboard, heatsink module, heaps of chips and others.
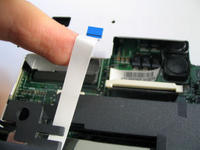
| Another thin plastic layer. |
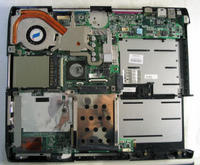
| Finally reach the motherboard. |
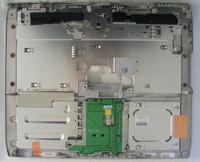
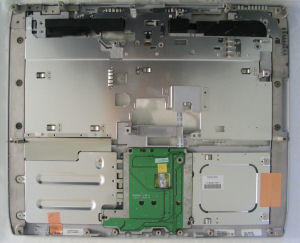
| The other side of the main cover. |

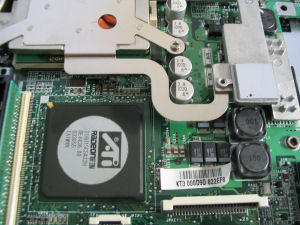
| VGA chip "ATi IGP320M" |
Now we can see how dirty in this laptop is. (compare with cpu fan, these can still be called “clean” though...)
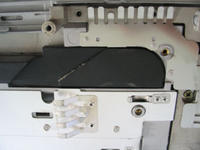
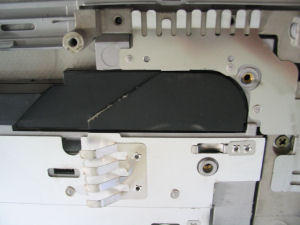
| The bottom of the speaker. |

| Floppy drive bay (there's no floppy drive on this laptop, by the way). |
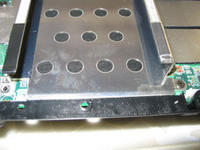
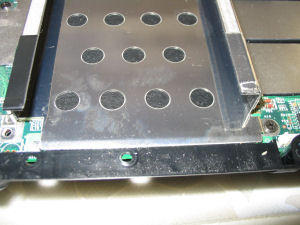
| HD drive bay. |
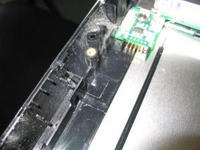
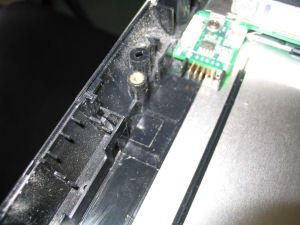
| Battery bay. It's amazing that never short even like this... |
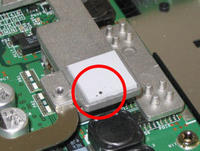
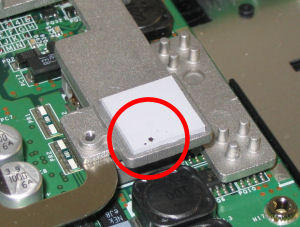
| Thermal pad. |
9.Heatsink module
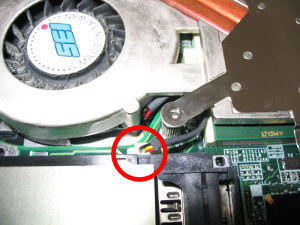
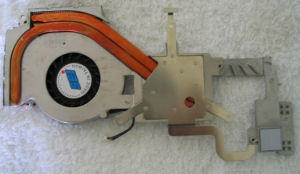
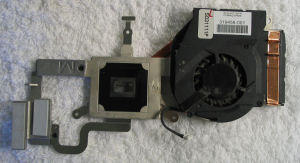
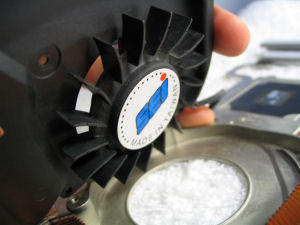
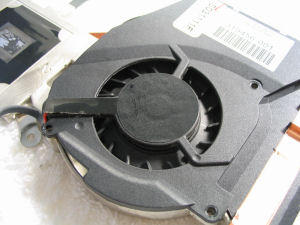
The heatsink module (including cpu fan) is fixated with 3 tiny screws. Unplug the fan cable before removing the module.

| CPU fan. Made in Taiwan. |
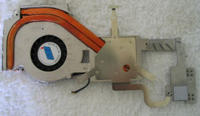
| Fan module (front). |
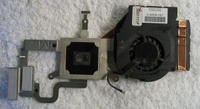
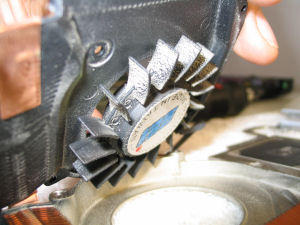
| Fan module (rear). |
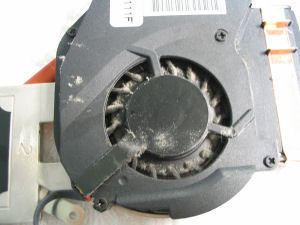
Also the cpu fan is fixated with another 4 tiny screws. Unscrew them and see how it is inside...
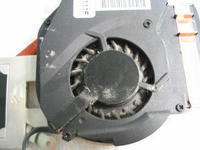
| Erh! What a filthy...! |
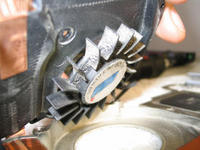
| Oh! Yuck!! |

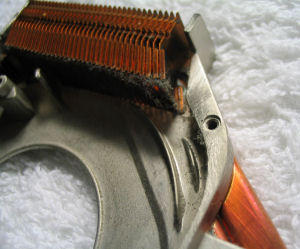
| ...No wonder there's no airflow. |
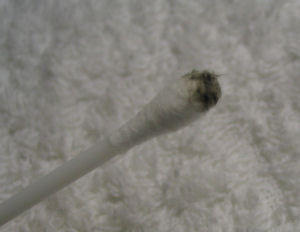
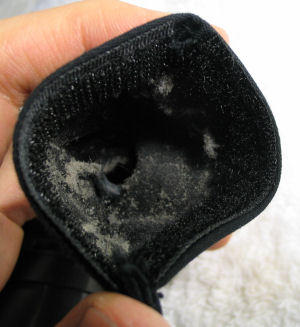
Errr~~~ it's yuck isn't it! What I can say other than dirty is still dirty. And this is where those cleaning kit is really needed.
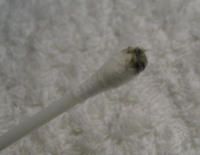
| Dirt on the qtip... |
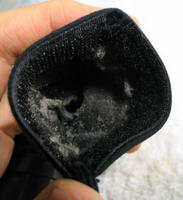
| ...and dirt in the dust bag of vacuum cleaner. |
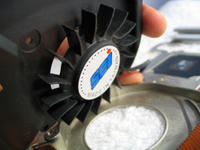
| After cleaning. |
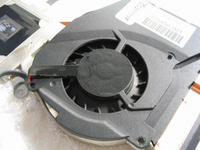
| After cleaning. |
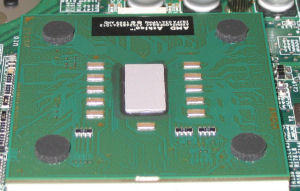
The cpu is AMD Atholon XP-M, and like other Thoroughbred-B core, there's no heat-spreader on it. Clean the surface of the cpu and heatsink carefully with lint-free paper (with isopropanol on it) and spread a thin layer of thermal compound on it with a plastic card.
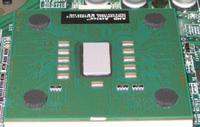
| Athlon XP-M with thin and smooth layer thermal compound. |
10. Reassemble
Lastly, reassemble all parts and reboot it to check if anything goes wrong. Fortunately nothing wrong and the temperature also decreases significantly even if cpu is full loaded. The airflow is also much stronger than before.
That's all of it (well, not exactly). It's somewhat a big work, but I suppose it worths the effort.
“Sam~~~! Dinner.” Marivic is calling me.
Meal after an exhausting big work ...it must be particularly yummy~~~